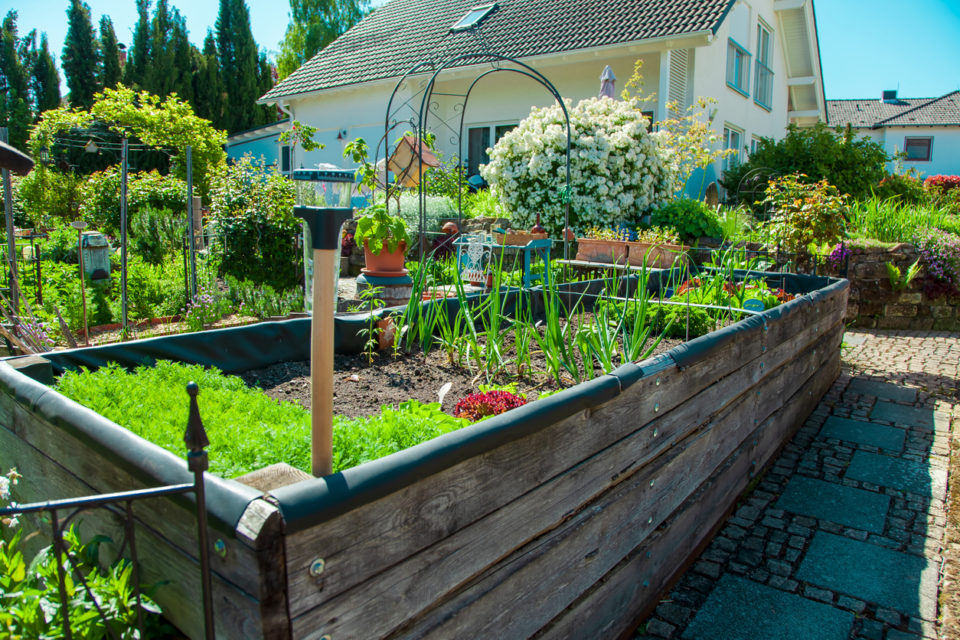
Are you thinking about starting a flower or vegetable garden? If you’re not sure you have enough space, consider using raised garden beds. Using raised garden beds will save you space by eliminating the need to plant in traditional rows. It will also give you more control over the soil quality and produce a better yield. So, here’s a step-by-step guide to building your own raised garden bed.
Picking the Location for Your Raised Garden Bed
Before you build your raised garden bed, you need to determine where you’re going to put it. There are several factors to consider like space, sunlight, and shade. If you plan to use the garden bed for vegetables that need a lot of sunlight to thrive make sure you pick a spot in your yard that will get several hours of sun a day.
Building Your Raised Garden Bed
Now that you have a location selected, you can measure the space to determine how large your garden bed should be. This guide describes how to build a 4-foot by 6-foot by 10.5-inch bed using 2×4 untreated lumber. Although, you can also purchase prefabricated kits or use other materials to build your bed.
- Step 1: Measure and cut 3 boards the length of each wall. Then, measure and cut corner posts that are the height of the garden wall.
- Step 2: Clamp together the boards of each wall. Set the corner post on top of the boards. It should be flush with the end. Then, drill pilot holes through the post and attach them to the boards with screws.
- Step 3: Drill pilot holes to connect each side of the box. Make sure the posts are on the inside of the wall.
- Step 4: Finally, staple wide mesh hardware cloth to the bottom of the wooden bed frame. If you’re using untreated wood, staple heavy-duty plastic along the inside of the walls as well.
You might also like: Tips And Tricks For Protecting Your Vehicle From The Summer Heat
Installing Your Raised Garden Bed
Now, it’s time to install your finished garden bed.
- Step 1: Place the garden bed directly on the ground, then outline it with a shovel.
- Step 2: Set the wooden bed to the side. Then, use the shovel to remove the grass inside the outline. While you’re at it you can loosen the ground with a spading fork to help your plants grow deeper roots.
Now all you have to do is place the bed on top of your prepared area and you’re all done. You can fill the bed with the soil of your choice and start planting.
