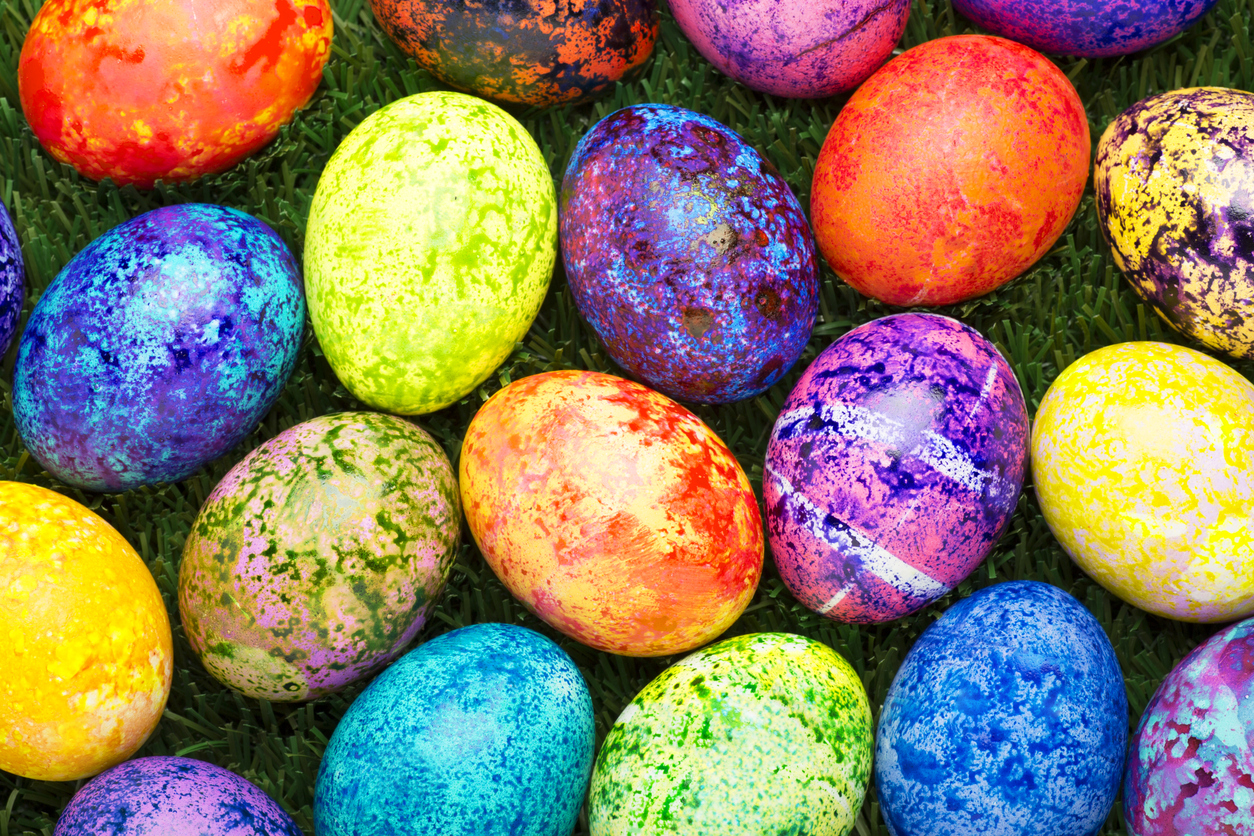
Every parent knows that when Easter comes around it means dying eggs is evident. Finding the right dying kit that your children will love and will have lasting colors can be difficult. Don’t get discouraged because you can make your own dye colors with ease, and you can make as many colors as you would like. So round up your family and get ready to make a memory that everyone will cherish years to comes by dying your eggs with these easy tips.
How To Dye Eggs With Ease
Supplies
- Eggs
- Food Color Dye
- Vinegar
- Water
- Cardboard Egg Carton
- Plastic cups or clear cups
- Whisk
Directions
Step 1: Grab the desired amount of eggs, place them in a saucepan, and cover them with water. Bring the water to a boil, remove it from the heat, place a lid on the saucepan, and let the eggs sit in the water for 12 to 15 minutes.
Step 2: Drain the water and run cold water over the eggs. Let them cool completely.
Step 3: Place a towel, paper towel, or plastic table cloth over the area you will be dying eggs. Pour boiling water into your cups and stir in a teaspoon of vinegar.
Step 4: Drop 10 to 20 drops of food color dye into the water and vinegar mix. For vibrant bold colors you’ll want more drops and for pale or light colors you’ll want less drops. Tip: Red and yellow make orange. Red and blue make purple. Yellow and blue make green
Step 5: Take the cooled eggs and carefully place the eggs into the whisk. Submerge the eggs for 10 minutes into the dye so they fully absorb the color. Tip: The longer the eggs soak the more vibrant the color.
Step 6: Dry the eggs with paper towels or place them directly into the cardboard egg carton. Once the top of the egg is dry, flip the egg over and let the bottom dry. Store the eggs in the refrigerator until you’re ready to use them.
You May Also Like: Spring Break Ideas For Texas
Dye Your Eggs For Easter
Take the time to plan your egg dying activity with family. You can make them color you want with the dye’s, so get creative and start dying you eggs.
